imzoe.me blog shop
Root & EDL access on the Snapmaker 2.0 touchscreen
Dec. 02, 2025
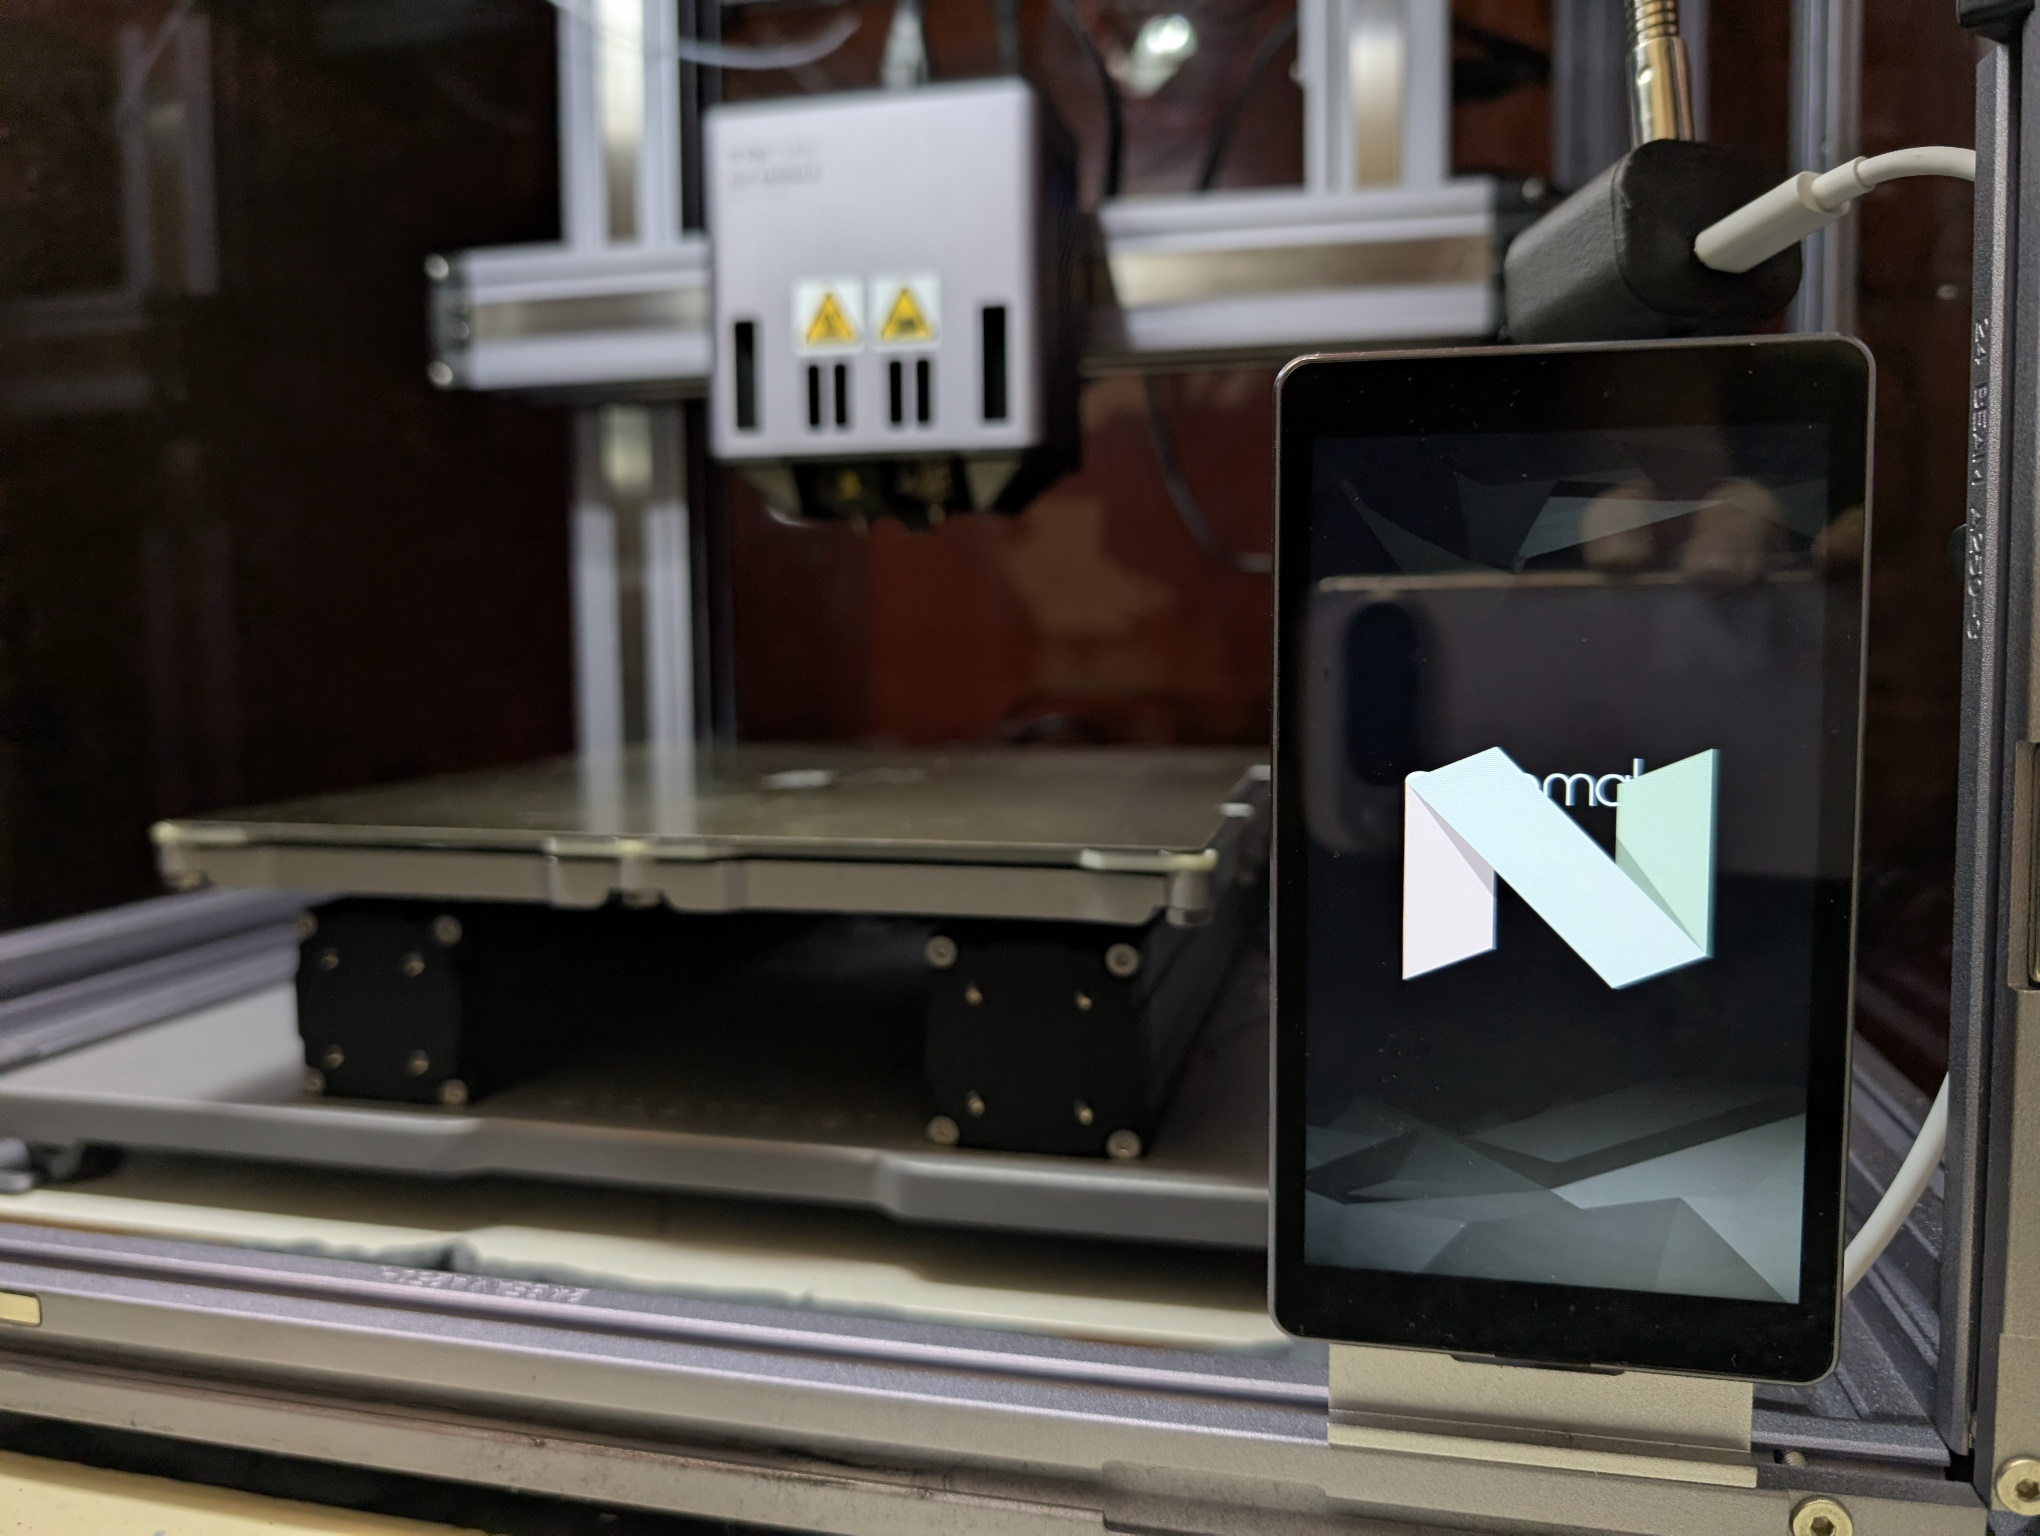
I own a Snapmaker 2.0 A250T. It's a 3-in-1 CNC machine that does 3D printing, laser cutting/engraving and CNC routing. It's a nice, sleek feeling machine with plenty of aluminium but it has a few quirks - one of them being that it is run via an Android 7.1 handset. It connects to a Marlin mainboard via a USB-C connector that uses a non standard pinout (we'll get to that later!) and the mainboard connects to the rest of the machine via CAN bus.
It's an interesting design, but allowed Snapmaker a fairly high degree of modularity to not only swap between the included parts, but allow for other new parts down the line like upgraded modules - the dual extruder module is one I have that didn't originally come with the machine. That said though, it does have flaws. Each axis is a lead screw, which makes it comparatively slow in the current world of high speed CoreXY 3D printers running the highly configurable Klipper firmware. The touchscreen is also slow compared to the phone you're probably using. It only runs a Snapdragon 210, a low end 2016 SoC.
I had wanted to open up the machine to mods for some time, but only recently had a real attempt at it. nweolu on the Snapmaker forum managed to find a way to break out of the kiosk mode it puts you in by default and from there, I spent time working out how to root it with Magisk and pull images of the partitions, so I'd be safe no matter how badly I messed up. A lot has been documented in the awesome snapmaker repo, including understanding the pinout of the non conventional USB-C connector the touchscreen (what Snapmaker refers to as the HMI).

The PCB is dominated by the Quectel SC20 - an all in one Android module designed for applications like these. Because of their nature, they're well documented and PDFs of the pinouts exist online which give you a great understanding of how it can be made to work. More importantly, it can be put into Qualcomm's EDL mode - a special recovery mode that, with the right files, allows you to do just about anything with the device, including reading all partitions and writing to them.
The primary issue with the HMI is that it will not operate as a USB device, and will force itself to be a USB host even when connected to a PC. This makes things like ADB unusable, which is essential to messing with it. The HMI has a VBUS line, as well as a 5V power line. VBUS is typically used to power the USB devices that are connected to the mainboard module (the USB-A port on the Snapmaker pretty much just connects directly to the HMI's VBUS, D+, D-). I found that if you give it 5V down the USB-C connector's VBUS line (NOT the 5V line!) then the device can be forced into host mode. It won't boot if there's 5V on VBUS, but as soon as the boot process has started you do it and it'll work. Using a jig I soldered together myself, I was able to pass through the D+ and D- lines from my PC as well as 5V. And sure enough, it would appear in my ADB devices list!
From there, I could use ADB to push keyevents so I could navigate around since the stock UI lacks a navbar. With adb reboot bootloader I could reboot into EDL mode. It is also worth noting that the "deep flash" cable technique also works, which simply involves shorting D+ to GND.
EDL mode is very powerful and grants you access to the entire device. A software package developed by Qualcomm called QFIL is used to interface with devices in EDL, and require programming files to tell QFIL how to deal with the device. Without these files, you're working in the dark.
Modern smartphones don't work like this any more, but at the time the Qualtech SC20 was designed, this was the standard Furthermore, the partitions are not encrypted.

Naturally, they don't really like people having the programmer files for QFIL considering how great of a security risk it poses. I asked Quectel nicely if I could have them, but I went ignored. So, I turned to trial and error. Many of the programmer files for various phones have been leaked online, so I muddled my way through trying many of them from phones with the SD210 SoC. Eventually, I found that the programmer file for the ZTE Blade A460 worked flawlessly. This, paired with an unofficial implementation of the Qualcomm Sahara protocol gives you all you need to read and write the HMI's partitions.
The first thing you should be doing is pulling all the partitions and making backups of them. At this point it was the early hours of the morning for me and my thought process was unintelligible, so I managed to break stuff before having to unbreak it :^)
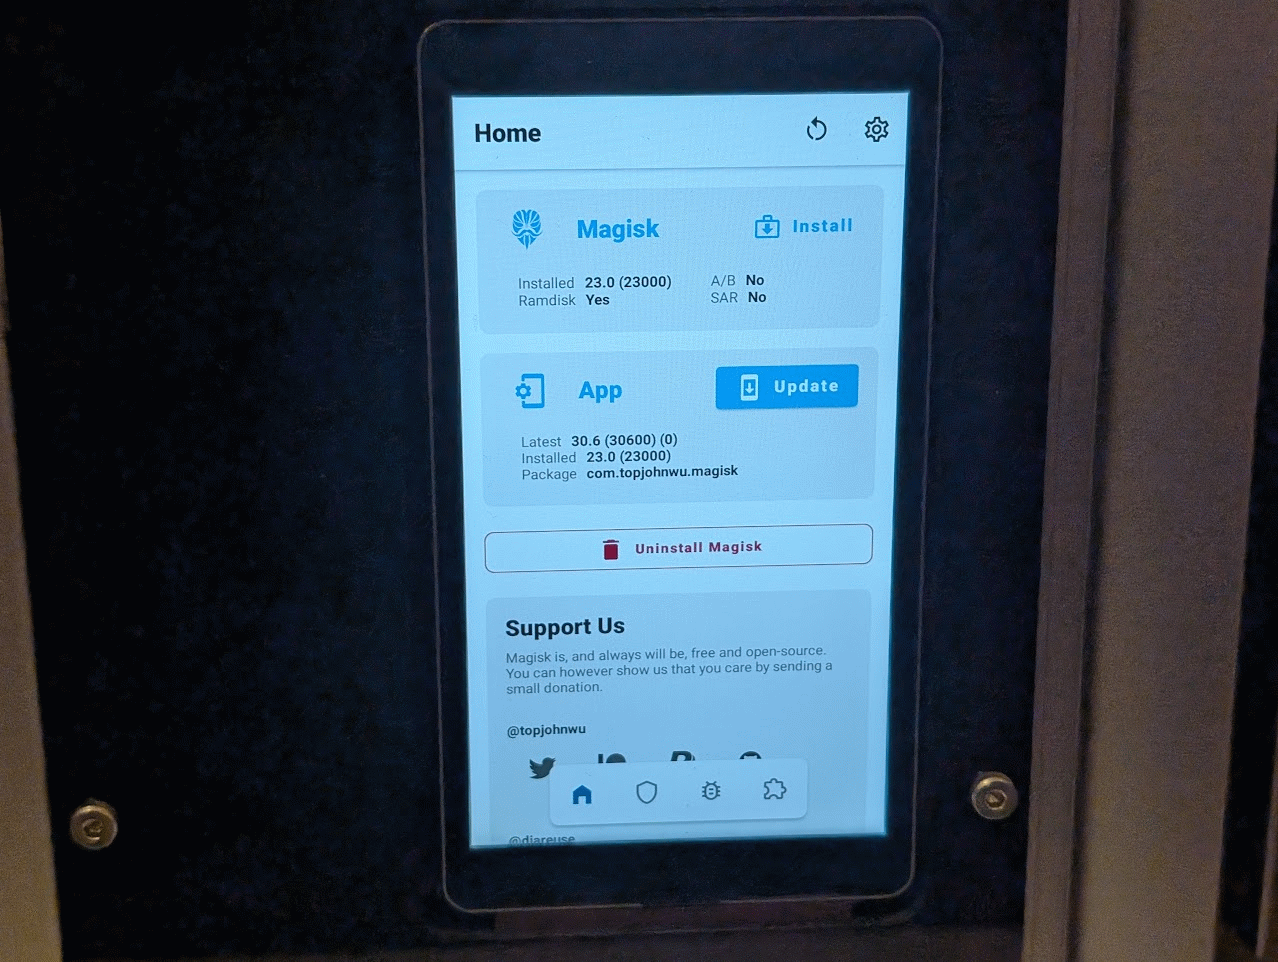
Magisk works by taking the stock boot.img (Android's kernel and ramdisk) and patching it to include root. With the EDL tool, you can pull the boot.img and patch it in magisk before reflashing it. The HMI's bootloader is unlocked by default, so as long as OEM unlocking is enabled in developer options we don't need to worry about the current modern Android root process. You will need to use Magisk v23.0, as later versions have issues that will leave you scratching your head!
Once rooted, you should make sure that adb shell has root access by granting it in the prompt when you run su in the shell. From there, the world is your lobster. My next blog post will probably be a step by step guide that skips my waffle and explains each point in detail so others can follow.
The critical part of this all was messing with the USB, and that isn't really replicable without some hardware skills. I plan on selling a Snapmaker 2.0 USB multitool (which I've affectionately called SnapBreaker) soon that not only allows you to force host mode but also acts as a deep flash cable and can spoof a touchscreen, so the machine can still work if you've broken yours for whatever reason. It's still a WIP, but I should have them out fairly soon. My prototypes came back and they work great!